
A general illustrated guide to knee strapping.
Step 1
Make sure your skin is clean and free of lotions or cream. You may wish to shave excess hair from the area to be taped.
Cut 3 strips of tape 7 squares long (use the backing as your guide).
Cut one piece in half. Round all ends to ensure stability of the ends. This improves adhesion and reduces fraying.
Step 2
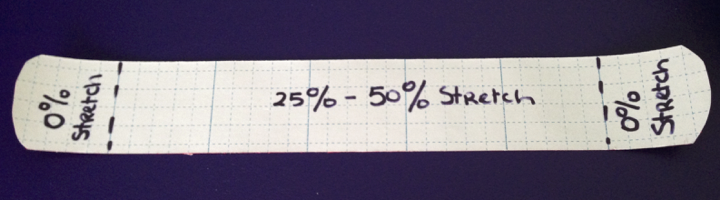
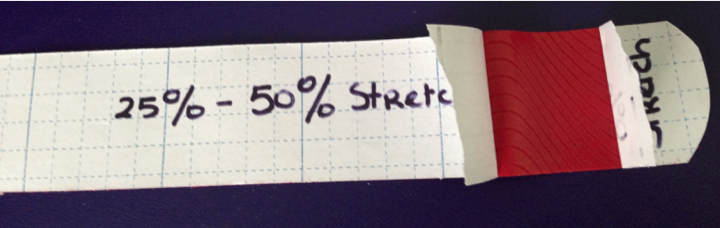
Take one of the long strips and tear the backing tape approximately one square from the end. Taking care not to touch the adhesive, fold back the backing on both torn edges.
Remove the backing from the end.
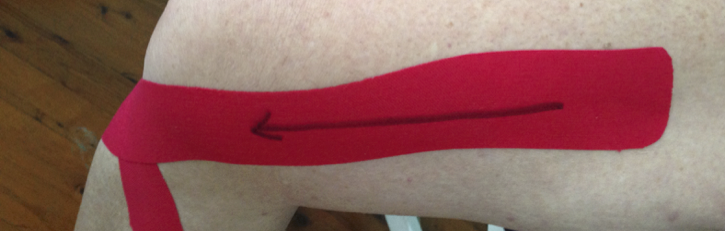
With the knee bent at 90˚, apply the exposed end of the tape on the inside of the leg, below the knee, ensuring there is no stretch at all.
Step 3
Gently rub this end of the tape to ensure it is fixed.
Stretch the tape to approximately 50% and follow the OUTER edge of the knee cap, removing the backing and laying the tape, smoothing it upwards with your thumb.
When you reach the last square of tape, fix it to the skin with no stretch at all.
Now gently rub the applied tape to secure it.
Step 4
Take the second long tape and, as before, tear the tape one square from the end, and fold back both ends of the tear.
Beginning approximately 2/3 of the way up the inside part of the thigh, apply the first part of the tape with no stretch.
Using 50% stretch apply the tape to the muscle, bringing the tape around the inside of the knee cap, crossing the first tape in the centre immediately below the knee cap.
Lay the last square of tape without stretch.
Step 5
Take one of the short strips, 3 1/2 squares
Step 6
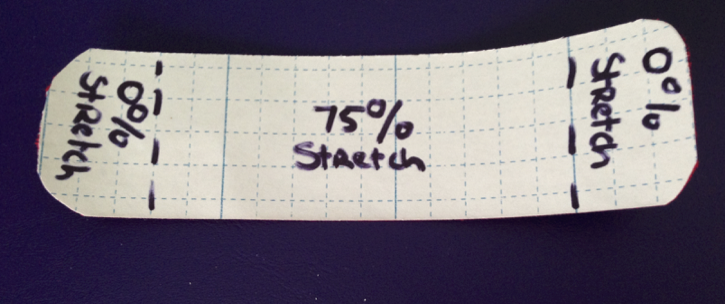
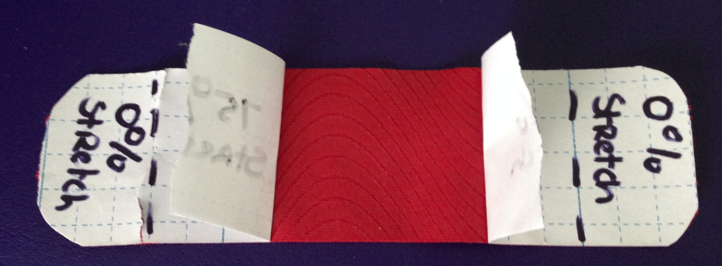
Tear the backing in the middle of the short strip.
Fold back the tear.
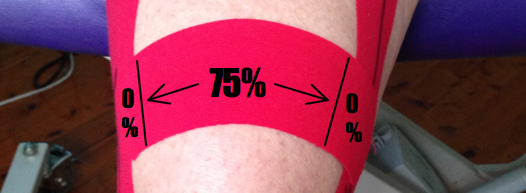
Gently stretch the tape to 75% and apply immediately below the knee cap where the vee forms with the long strips.
Apply the ends with no stretch.
Rub the tape to allow it to fix.
Step 7
Take the second short strip and repeat the process, this time placing the tape immediately above the kneecap.
Complete taping by rubbing all tape gently to enhance adhesive.
Do not remove the tape. Simply allow it to come off over time, trimming the ends as it peels.
Buy tape now
You can purchase tape and spray-on adhesive (if necessary) in our Shop. Top up your supplies now.
You must have read my mind Nicola.